Troubleshooting
Reduce an image to under 200KB without making small text unreadable
Follow a manual resize-and-compress workflow, check exact byte counts, and preserve the minimum pixels an upload form requires.
An upload limit is a constraint, not a quality target. First determine which dimensions and formats the receiving form requires; a 150KB file can still be rejected if the pixels are too small or the format is unsupported.
Imgkind does not currently have an automatic target-KB button. This guide combines its resize and compression tools manually. The same process applies to another byte limit, with your destination’s rules as the boundary.
Translate the size label carefully
200,000 bytes and 200 × 1024 = 204,800 bytes are different thresholds. A service displaying “200KB” may enforce its own interpretation. A file below 200,000 bytes is below both of these numerical limits, though it must still pass the other upload checks.
Imgkind’s size display uses 1024-byte units and rounded labels. For a strict boundary, check the downloaded file’s byte count with Image Details or your file properties. Do not upload a batch ZIP into a field requesting an individual photo.
Reduce pixels only when allowed
If the destination needs an 800-pixel-wide image and your source is 4000 pixels wide, a resize to 800 reduces the width by a factor of five. The height also shrinks proportionally. The new pixel count is one twenty-fifth of the original, but file size does not follow that ratio exactly.
For small text and diagrams, inspect the reduced output before further encoding. Resizing can remove the detail you were trying to protect. Skip this step if the source is already at the destination’s minimum dimensions.
An actual sample that fits below the limit
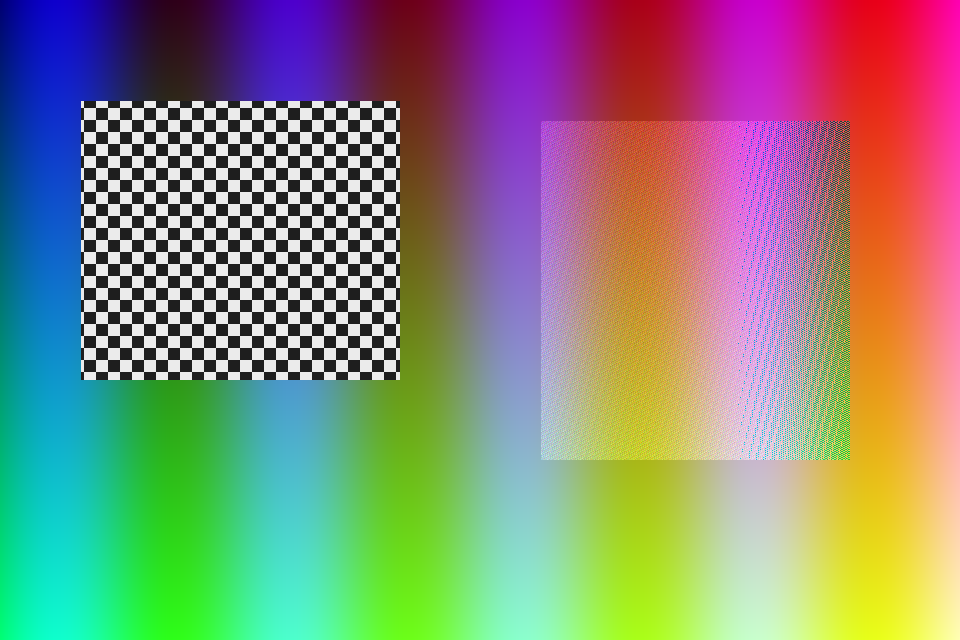
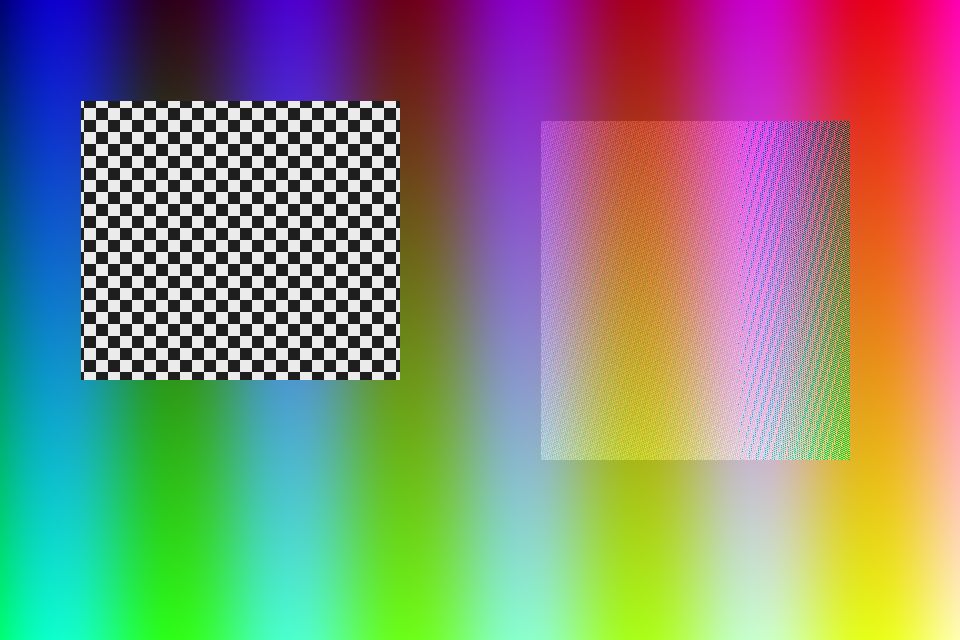
Our 960 × 640 gradient sample starts at 706,133 bytes. With unchanged dimensions, the compressor’s JPEG quality 80 output is 61,795 bytes. It is below 200,000 bytes; no resizing was needed for this particular synthetic image.
This result is not a promise for portraits or scanned documents. Download the files and inspect the change. If your source fails the limit, change one setting, check the new output, and retain the clearest candidate that satisfies all constraints.
Steps
- Read the form’s allowed formats, minimum dimensions, and byte limit.
- If permitted, resize the original using fixed width or longest edge and preserve proportions.
- Compress that candidate as an allowed format. Start with quality 80 for JPEG or WebP.
- Inspect small labels and detail. Check exact bytes; raise quality if there is room, or reduce it gradually if needed.
- Upload the individual file and read any rejection message. Keep the source and the successful settings for another attempt.
Helpful tips
- A lower byte count does not compensate for an invalid format or too few pixels.
- If text is no longer legible, change the workflow instead of repeatedly lowering quality.
- For an official photo, confirm that the permitted editing rules allow the processing you intend.
Frequently asked questions
Can I enter 200KB and have Imgkind handle it automatically?
Not currently. Use the manual size and quality workflow in this guide.
Should I set quality to 10 immediately?
No. Start with a readable result and reduce gradually while checking the actual output.
Is 200KB shown on the result enough proof?
A rounded label can hide the exact boundary. Check bytes and the receiving form’s own interpretation.